
If you’re a Nintendo Switch owner, chances are you’ve got one or two sticky, unresponsive, or worn-out Joy-Con buttons. Good news — you don’t have to buy a whole new controller! With a little patience and the right tools, you can replace those Joy-Con buttons yourself. Here’s how we did it step-by-step.
What You’ll Need
- A full tri-wing and small Phillips screwdriver set (Nintendo uses special tri-wing screws)
- Replacement buttons (available online in different colors if you want to customize!)
- Plastic pry tool or guitar pick
- Tweezers
- A clean, organized workspace
Important Disclaimer: Replacing your Joy-Con buttons yourself can void your warranty. Only attempt this if you’re comfortable with DIY repairs, trouble shooting and at your own risk!
Step-by-Step Guide
1. Power Down and Detach
Turn off your Nintendo Switch and remove the Joy-Con. Safety first!
2. Remove the Outer Screws
Use the tri-wing screwdriver to remove the four screws on the back of the Joy-Con. Keep them contained in a bowl or container safely — they’re tiny and easy to lose!
3. Gently Open the Joy-Con
Carefully pry open the Joy-Con using a plastic tool. Start from the seam near the SR and SL buttons. Be gentle — there are delicate cables inside.
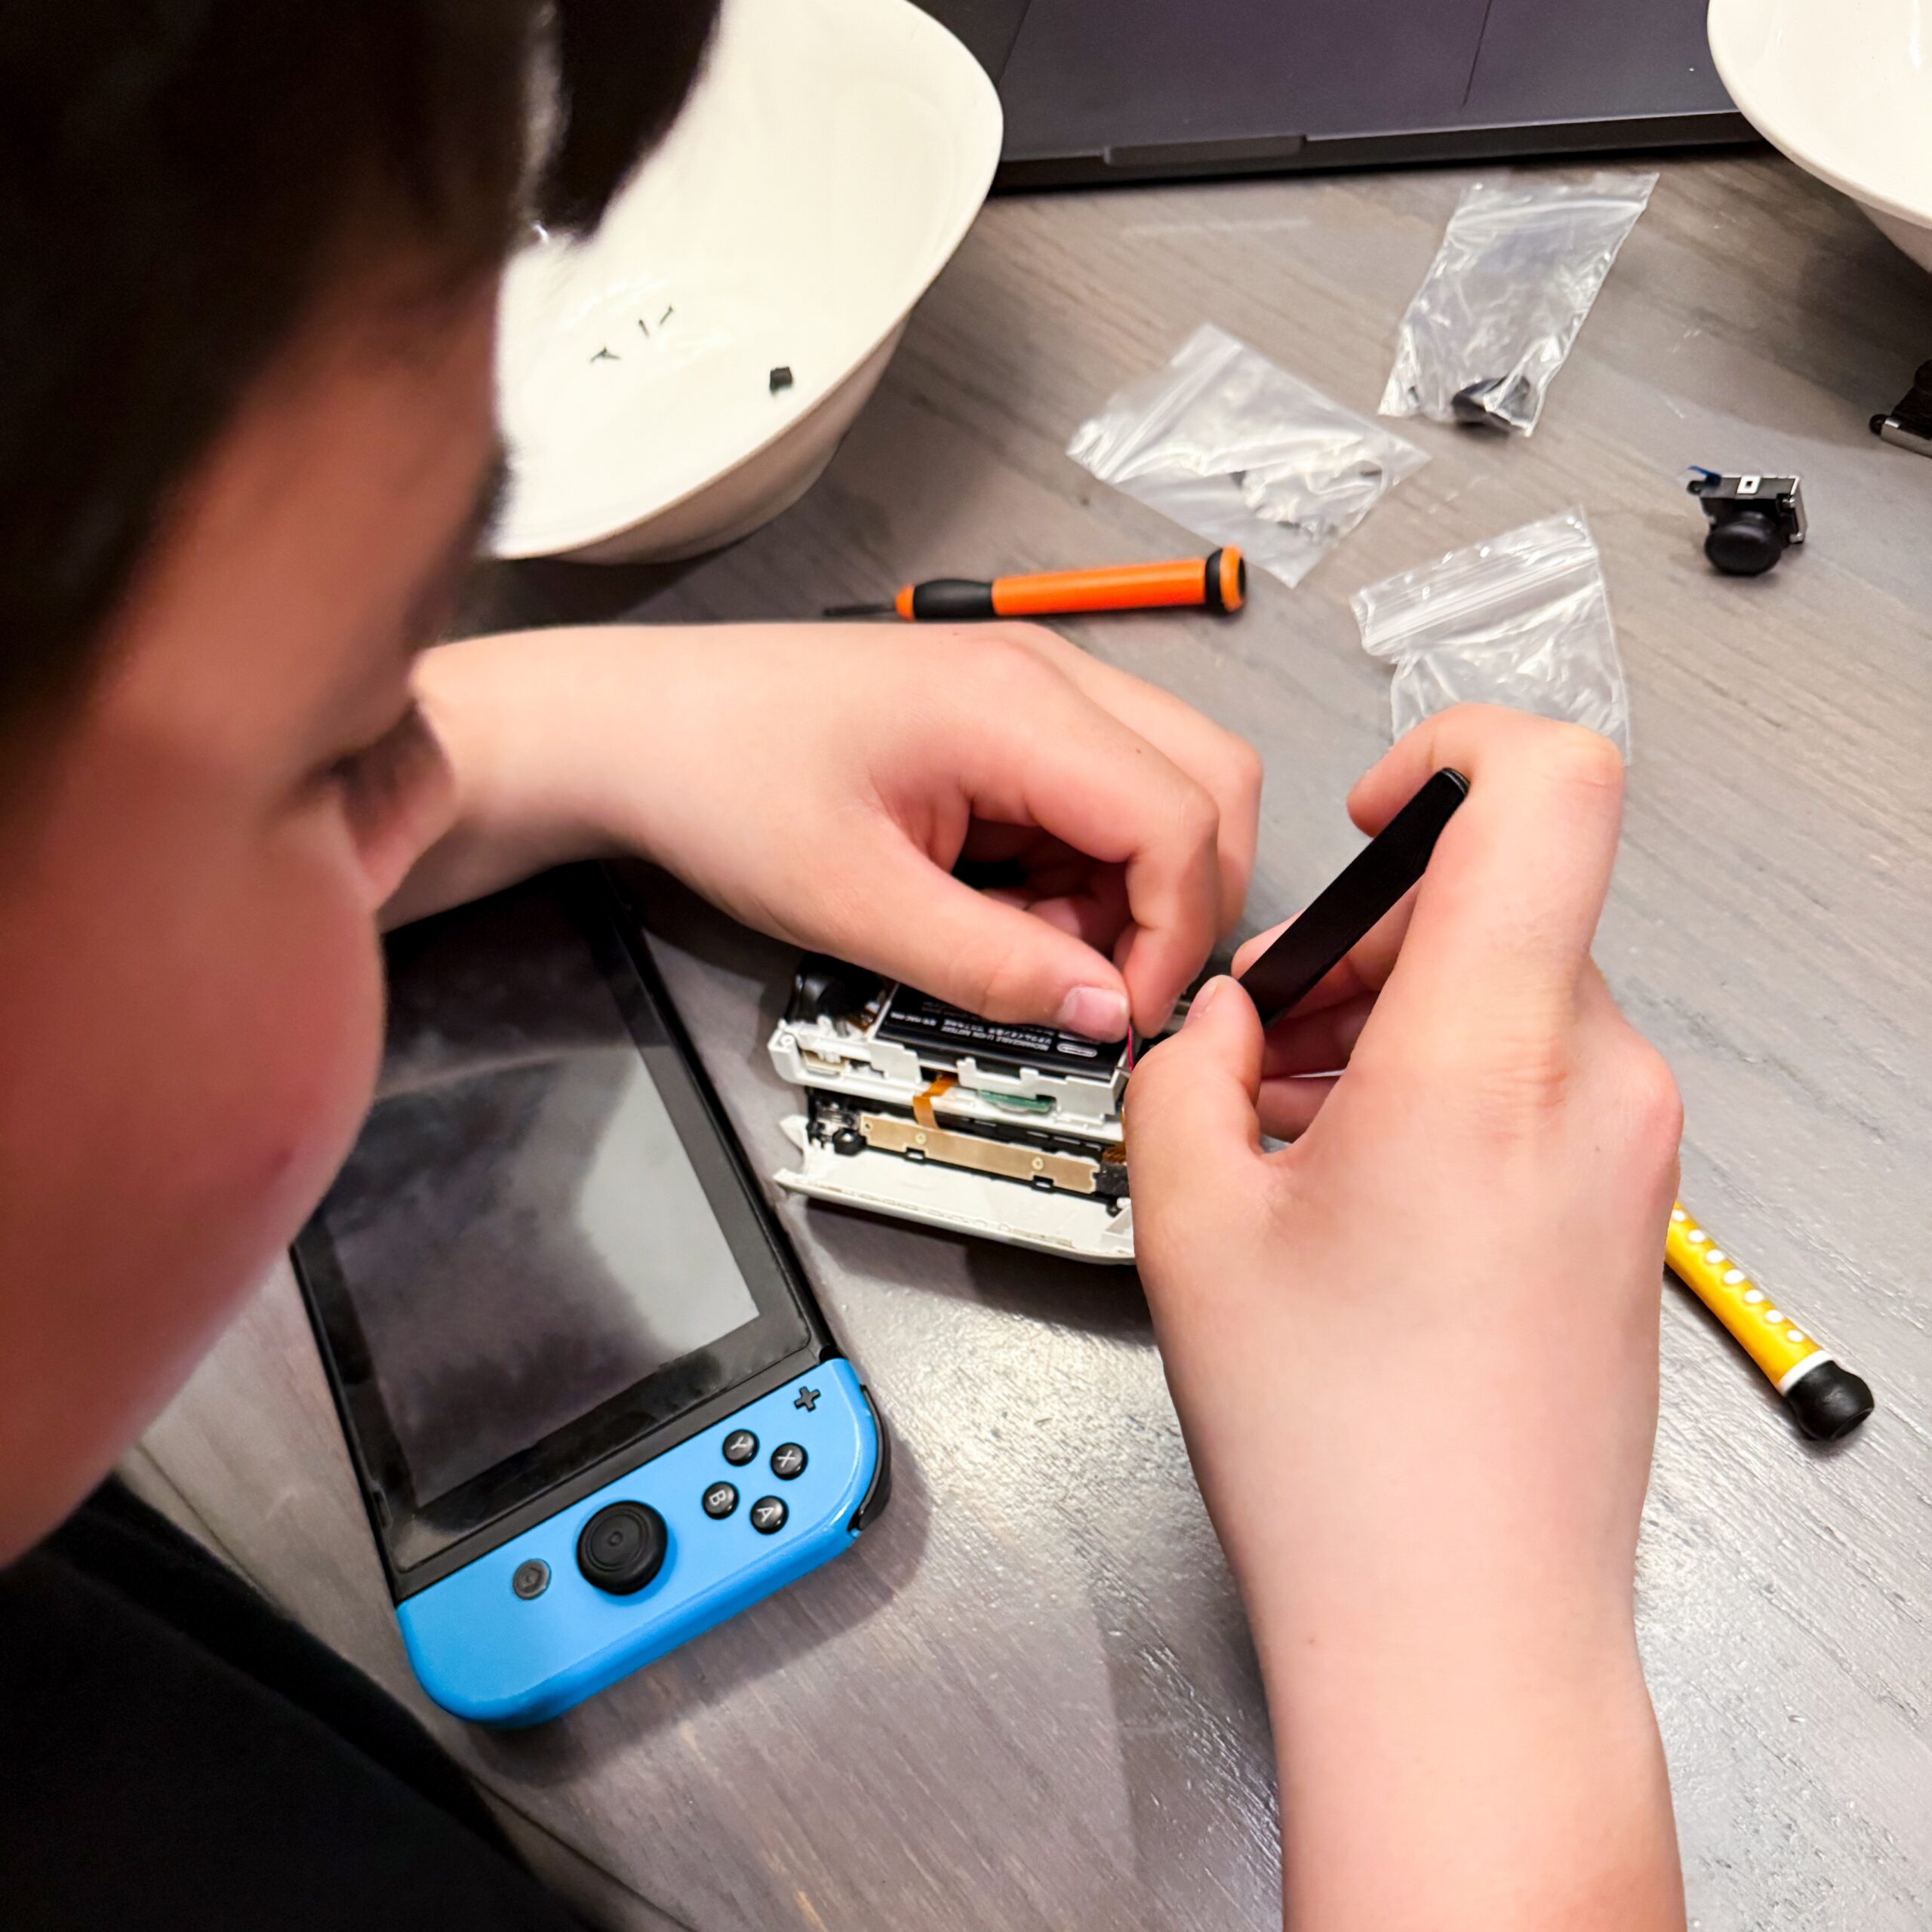
4. Disconnect the Battery
Once open, gently lift the battery. It’s held in with a little adhesive, so it might take a little coaxing. Disconnect the battery cable carefully using your tweezers.
5. Remove the Internal Screws
Under the battery, you’ll see the midframe secured with Phillips screws. Remove them and set the midframe aside to reveal the buttons.
6. Swap Out the Buttons
Using tweezers, lift the original buttons out. Drop the new ones into place, pay special attention to making sure they’re aligned properly (especially the +, -, and ABXY buttons).

7. Reassemble Carefully
Reverse the steps:
- Reattach the midframe.
- Reconnect the battery.
- Carefully snap the Joy-Con shell back together.
- Replace the outer screws.
Take your time — rushing can cause cables to get pinched or misaligned and buttons inserted in the wrong spots.
8. Test It Out
Before celebrating, test your Joy-Con! Attach it to your Switch and check that every button responds correctly.
If something feels off, don’t panic. Open it back up and double-check that all the connections are secure.
Final Thoughts
Replacing Joy-Con buttons isn’t just functional — it’s a chance to personalize your controller with fun colors or a cool new look. Whether you’re restoring life to an old Joy-Con or giving your gaming setup a little flair, doing it yourself can be really rewarding.
If you found this guide helpful, let me know in the comments! Have you ever customized your Joy-Cons before? Share your mods — I’d love to see!
