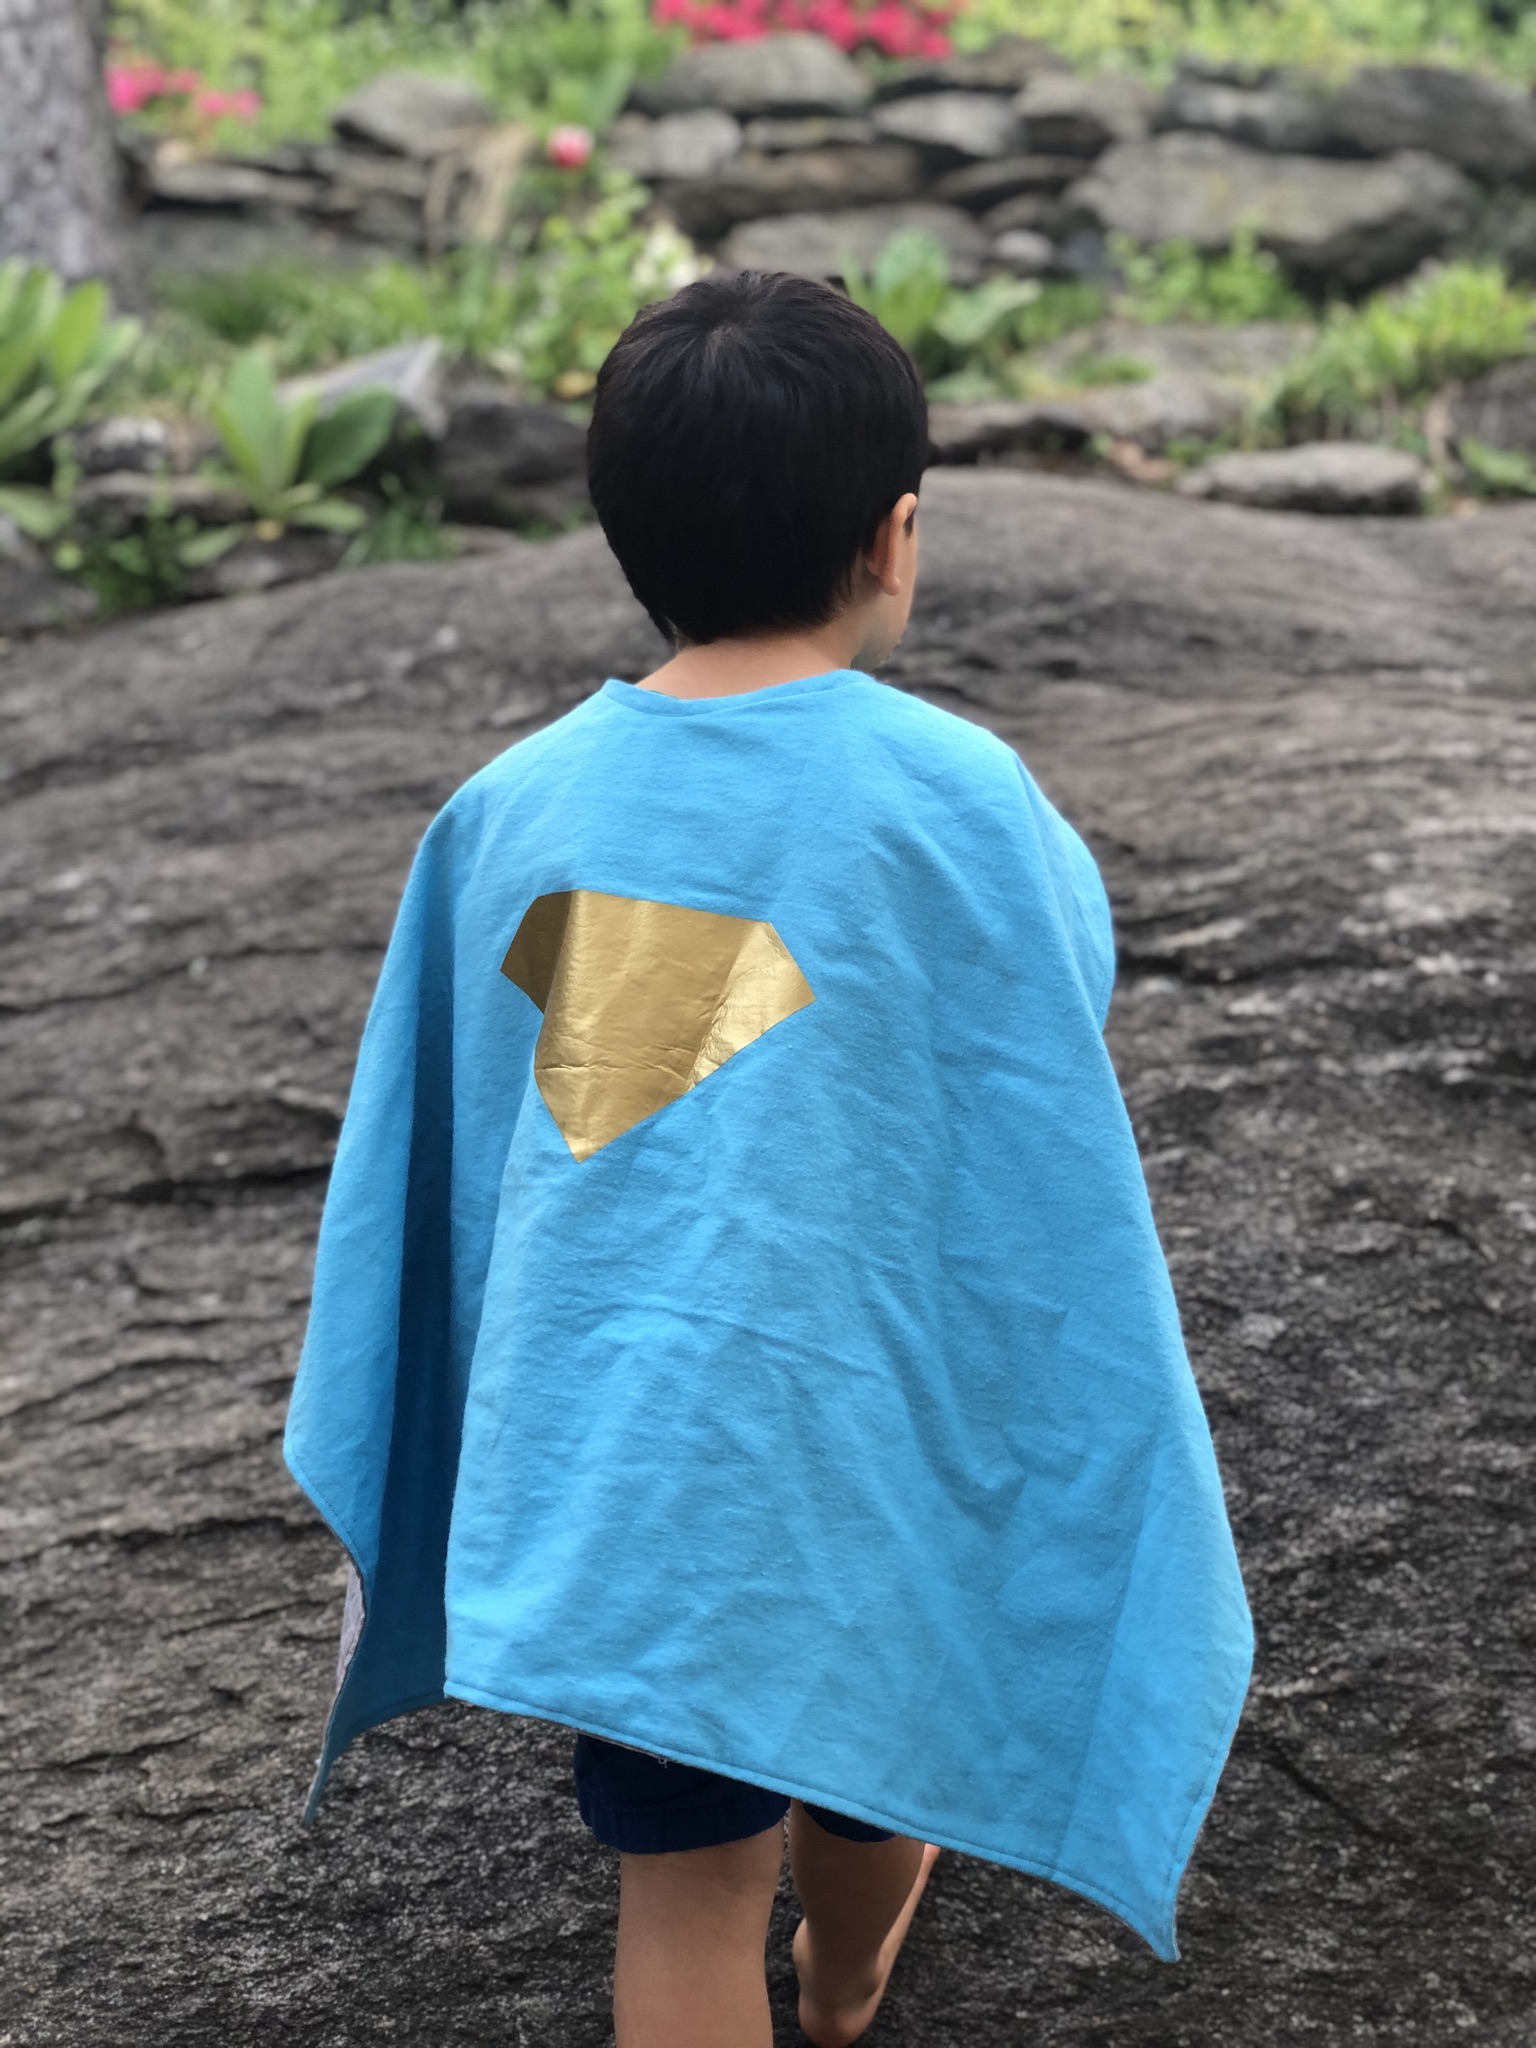
As a mom of 6, I have 6 little full time superheroes living with me! Pretend play is great all year round so I don’t even pack away the costumes they just go in a bin in their playroom. Today I am sharing how to easy this DIY superhero cape can be. This DIY cape was a quick nap time project with mostly basic straight stitching on my sewing machine. You could use fabric glue if you do not have a sewing machine too. Follow along to see how to make one for your little ones!
What You’ll Need:
- 2 pieces of fabric – 1 yard of each
- Thread
- Velcro
- Scissors gingher sewing <iframe style=”width:120px;height:240px;” marginwidth=”0″ marginheight=”0″ scrolling=”no” frameborder=”0″ src=”//ws-na.amazon-adsystem.com/widgets/q?ServiceVersion=20070822&OneJS=1&Operation=GetAdHtml&MarketPlace=US&source=ac&ref=tf_til&ad_type=product_link&tracking_id=stephanieyu-20&marketplace=amazon&region=US&placement=B000UU6SR4&asins=B000UU6SR4&linkId=ce26319dbbf77659a5e6a4eac33d7e4d&show_border=false&link_opens_in_new_window=true&price_color=292927&title_color=20c1c9&bg_color=ffffff”>
</iframe>or fiskar orange handle <iframe style=”width:120px;height:240px;” marginwidth=”0″ marginheight=”0″ scrolling=”no” frameborder=”0″ src=”//ws-na.amazon-adsystem.com/widgets/q?ServiceVersion=20070822&OneJS=1&Operation=GetAdHtml&MarketPlace=US&source=ac&ref=tf_til&ad_type=product_link&tracking_id=stephanieyu-20&marketplace=amazon&region=US&placement=B00006IFN9&asins=B00006IFN9&linkId=50b7888dbd4b60bf201d942a00c14bfc&show_border=false&link_opens_in_new_window=true&price_color=292927&title_color=20c1c9&bg_color=ffffff”>
</iframe> or rotary cutter <iframe style=”width:120px;height:240px;” marginwidth=”0″ marginheight=”0″ scrolling=”no” frameborder=”0″ src=”//ws-na.amazon-adsystem.com/widgets/q?ServiceVersion=20070822&OneJS=1&Operation=GetAdHtml&MarketPlace=US&source=ac&ref=tf_til&ad_type=product_link&tracking_id=stephanieyu-20&marketplace=amazon&region=US&placement=B000B7M8WU&asins=B000B7M8WU&linkId=d6c33aaed7614e7310fcc29127b6db19&show_border=false&link_opens_in_new_window=true&price_color=292927&title_color=20c1c9&bg_color=ffffff”>
</iframe> - Sewing machine or fabric glue
- cutting mat <iframe style=”width:120px;height:240px;” marginwidth=”0″ marginheight=”0″ scrolling=”no” frameborder=”0″ src=”//ws-na.amazon-adsystem.com/widgets/q?ServiceVersion=20070822&OneJS=1&Operation=GetAdHtml&MarketPlace=US&source=ac&ref=tf_til&ad_type=product_link&tracking_id=stephanieyu-20&marketplace=amazon&region=US&placement=B000YZASYO&asins=B000YZASYO&linkId=df50045c4fac567e27644dcb9b26ad61&show_border=false&link_opens_in_new_window=true&price_color=292927&title_color=20c1c9&bg_color=ffffff”>
</iframe> - Superhero cape pattern – Click here or use a cape they already love.

What To Do:

Step 1
Print out the free super hero cape pattern – Click here. Cut it out.
Lay out your fabric with the fold on your left. I made it 14″ wide and 20″ below the end of the curve.

Step 2
Pin and cut your fabric. Extend the curve out to the width you need I made it 14″ wide.
Repeat the same for the coordinating fabric.
Match up right sides together and fold in half. Cut the top part for the strap.

Step 3
Add velcro to the inside of your strap on opposite pieces (1 velcro piece on the teal and 1 velcro piece on the gray).
Stitch in place.
*If you plan to add an applique design then now would be the time to iron and sew it on.
*If using fabric glue skip the remaining steps! You will need to iron in the edges about 1/2” all around then glue. Let dry and enjoy!

Step 4
Sew all the way around your cape but leave a 4″ gap at the bottom.
Clip the edges and along the center curve.
Push out all the edges and iron.

Step 5
Top stitch all around your cape.
Ta da!
Decorate however you’d like – fabric markers, iron on vinyl, etc.
Helpful Video Tutorial
Sharing these quick videos to show what I did! Let me know if you find these helpful and I’ll make more.

Like this DIY tutorial? Subscribe to get notified when I add more fun ideas! Or if you are on Pinterest save this Pin to try it later!


