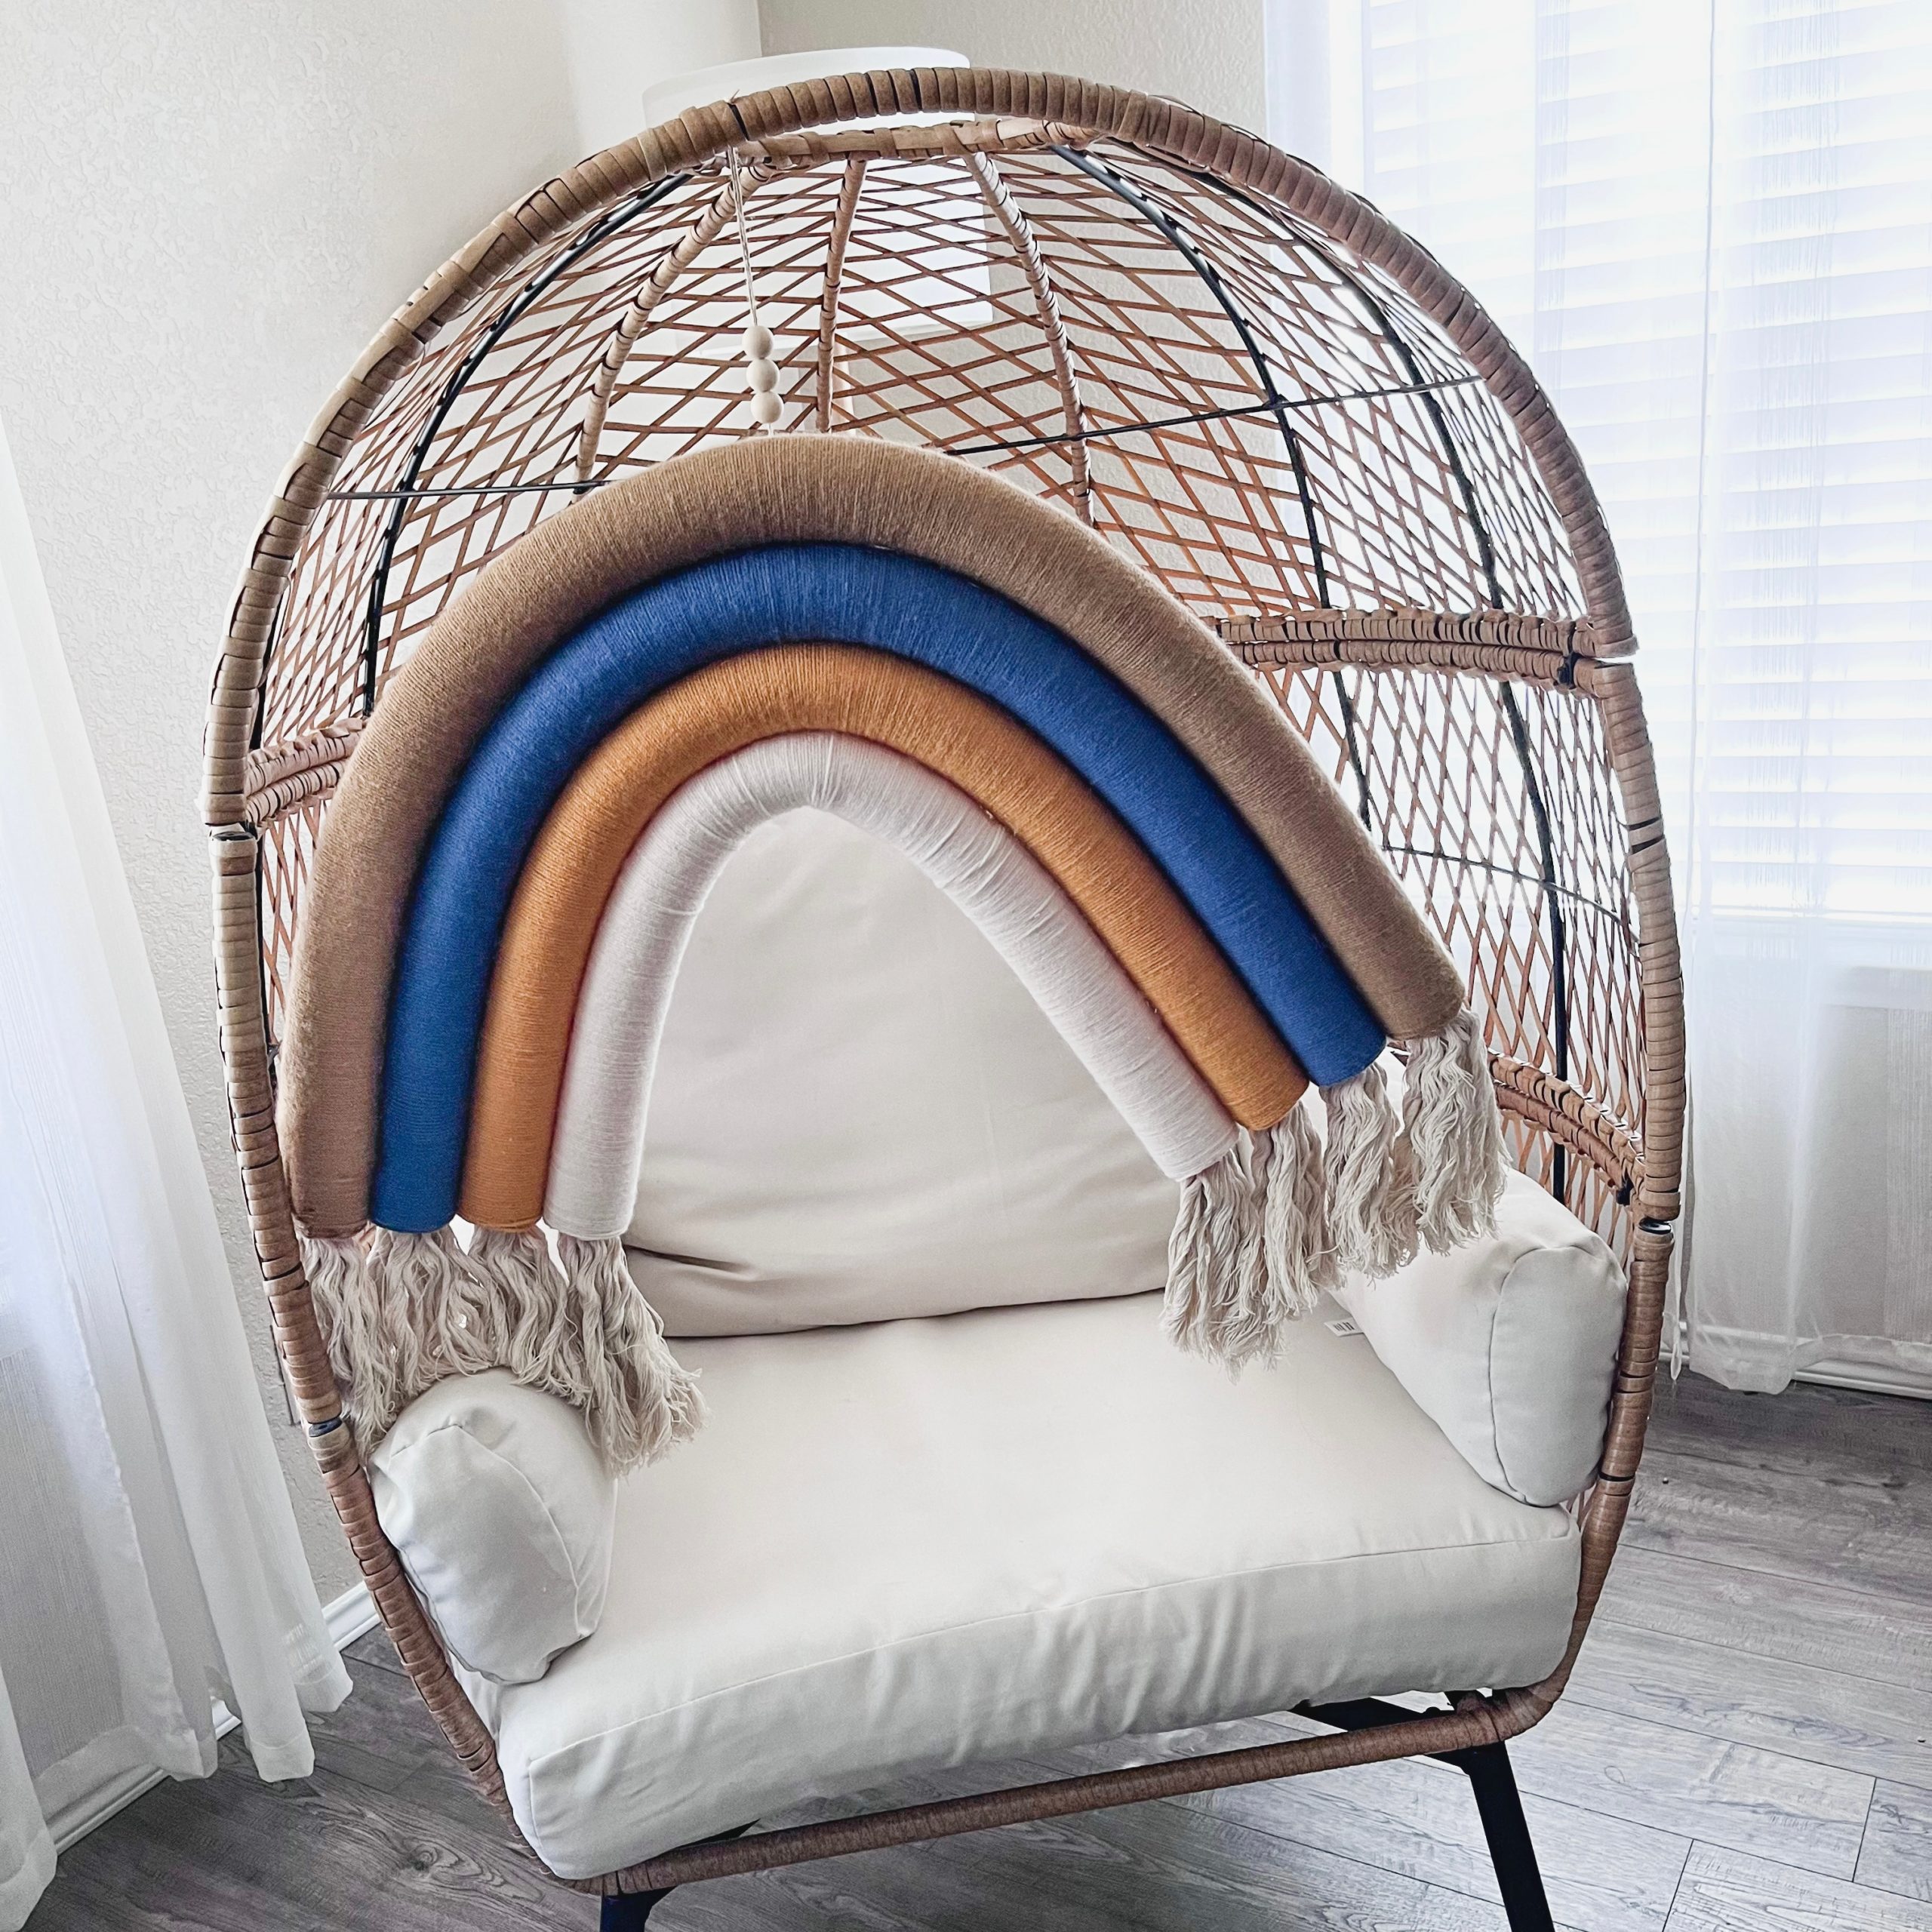
diy Rainbow Wall Hanging
Using pool noodles
I love all things rainbows and with Spring right around the corner I thought making a rainbow wall hanging would be perfect! I found a few ideas that I will share as I make them but today I am sharing this easy diy oversized rainbow wall hanging. I’ve made small macrame rope rainbows before but in order to make one oversized to hang on the wall it would take an incredible amount of macrame rope plus it wouldn’t be the most budget friendly diy. So I started looking around and saw a few versions of these oversized rainbow wall hangings made with pool noodles of all things!
Who would have thought this diy oversized rainbow wall hanging was made with pool noodles?! Such a brilliant idea because not only is it budget friendly, it doesn’t weigh a ton so it can easily be hung up on the wall. This simple and easy diy oversized rainbow wall hanging is a fun way to add some cute decor to your space. I love the big impact and low price tag! The materials are very simple and easy to find, some of which you may already have at home so scroll down to find out how you can make your own diy rainbow wall hanging!
What You’ll Need:
- 4 balls of color coordinating yarn
- 4 pool noodles
- 4 bundles of thick cotton rope
- Copper coil tubing (I only used it on the outer and middle noodles but you could use it for all of them if you prefer a better arch shape)
- Wire cutter or fine bladed saw
- Hot glue gun
- Scissors
Cut It
Start by deciding how big you want your diy rainbow wall hanging to be and how many arches. I started off with the size of the pool noodle and went down from there. I didn’t want the sharp U shape but more of a curve so I marked off and cut down the corresponding pool noodles. I ended up doing 4 arches.
Don’t have pool noodles? You can find pool noodles at the dollar store for $1.25/each
These were well loved pool noodles leftover from summer so they weren’t perfect to begin with nor the most neutral color but that didn’t bother me since they were going to be wrapped in yarn and the back isn’t seen.
Step 1

Wrap It Up
Once you’ve chosen how many arches and your coordinating yarn colors you need to wrap the pool noodles with yarn. The thicker the better since you end up wrapping it around less but I used what I had so my yarn is on the thin side. I found it easiest to turn the noodle and hold the yarn in place to go around and around and around. Hot glue the beginning and throughout every once in a while to secure it and again at the end.
Step 2

Shape It
Take your longest noodle and the copper coil tubing and measure about 2″-3″ shorter than your pool noodle. Mark your copper coil and cut it down. Push the copper coil inside. The copper tubing I had left was just enough for the second inside arch. If you’d like a more rounded arch shape you would have copper tubing inside each noodle and would need to get a second package or longer length. Once you have the copper tubings inside shape your arches by bending them together.
Step 3

Glue It
Once you are happy with your rainbow arches hot glue all around to secure it. I started with the outer arch and worked my way in. I let it dry in between and reshaped a little. Now you are almost done!
Step 4

Rope It
Finish it off with some tassels! I picked up 4 packs of large rope from the dollar store. Folded it in half three times and cut it to make 6 pieces. Using tiny elastics I bound 3 pieces together and unwound the rope. You can leave as is but I decided to give mine a quick brush to separate the strands a bit more.
Step 5

Hang It
I took some twine and a yarn needle to thread through the backside of the outer rainbow arch to create a loop. Added on some wooden beads to complete the look and thats it! You’ve made a diy rainbow wall hanging to decorate your space with!
Step 6

Helpful Video Tutorial
See how easy it is to make this diy rainbow wall hanging and bring some color into your home for any season or holiday!


